Showing posts with label diy. Show all posts

Saturday, December 22, 2012

non stop crafting around here

Happy Holidays Friends! we been having a blast getting ready for Santa to come visit. We've been busy making stuff.  
Homemade clay ornaments, I poked around Pinterst and found an easy cornstarch and baking soda recipe.  Messy and fun. 

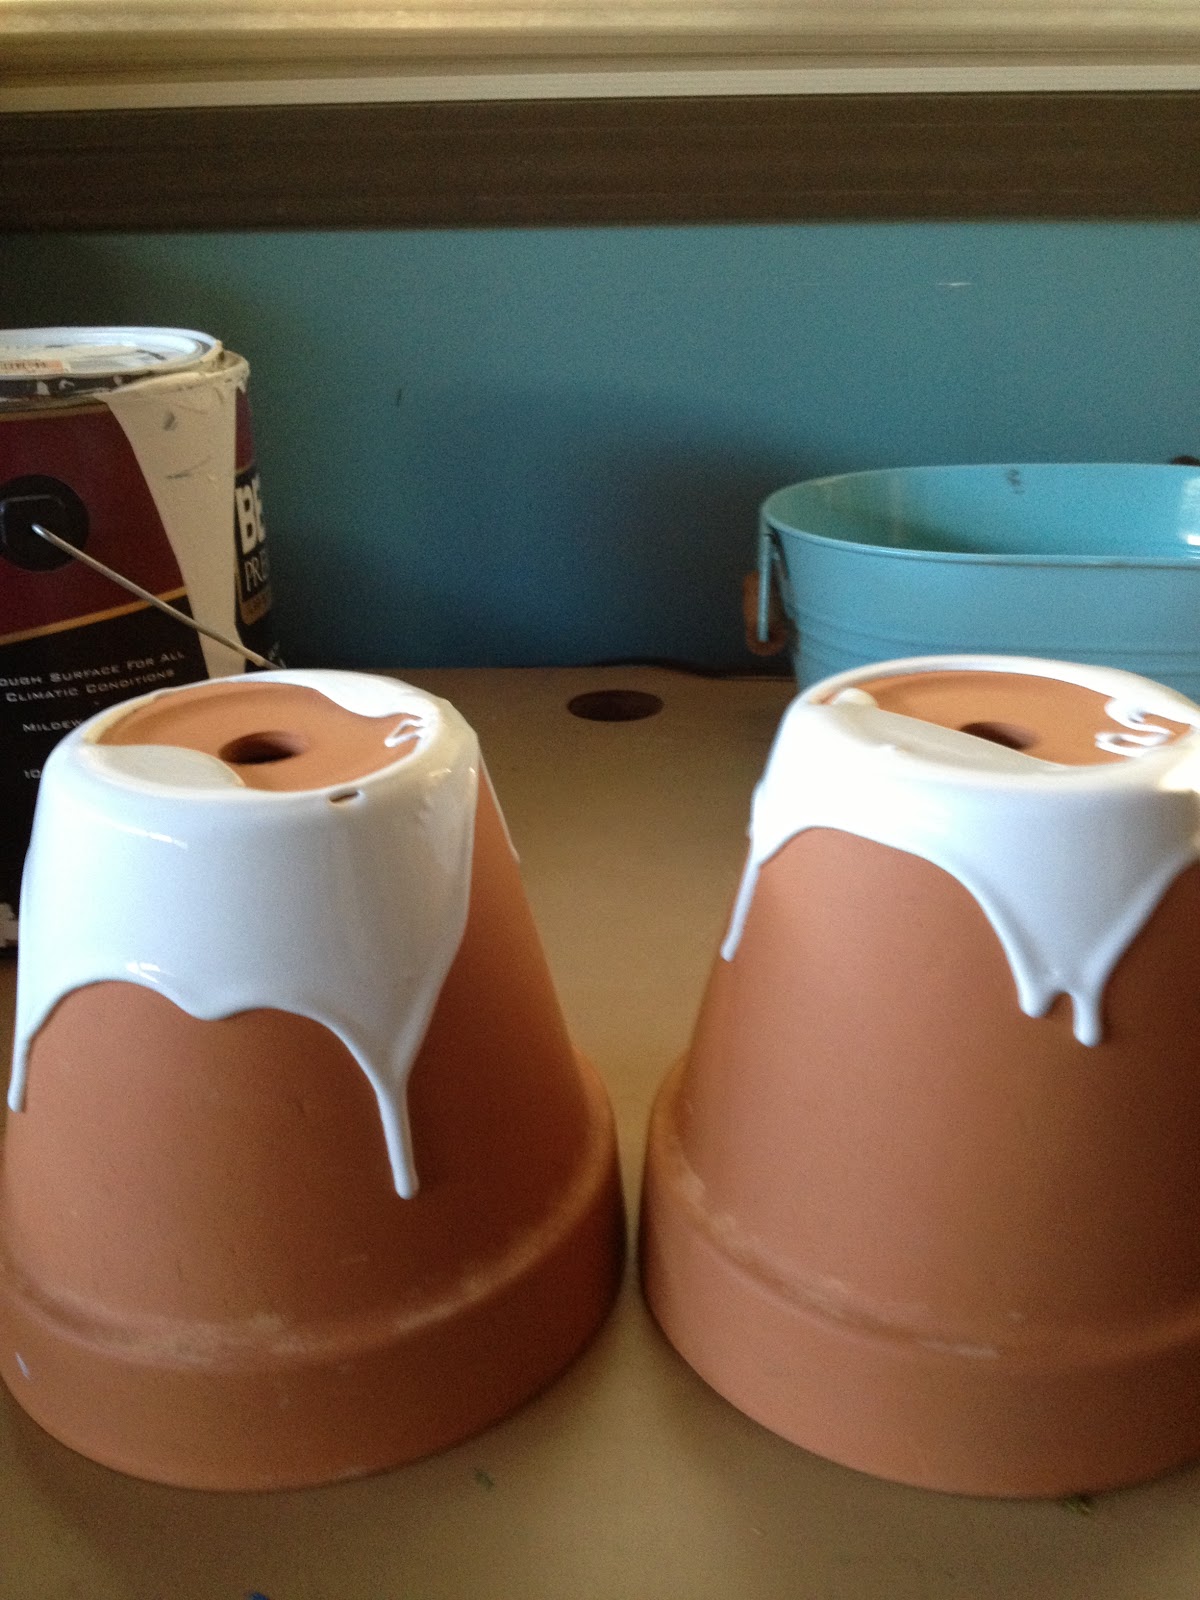
Everyone loves a fiddle leaf ficus right.  Well, we're hoping so.  I dipped the Terracotta pots in paint to make them more modern.

I luv the drips going up


 my dripping technique

In process
we also made some sugar cookies
Here's our works of art. 
So I bought the kids some craft kits at Target for Christmas and realized I really got them for me.  These are Charlie Harper wood birdies, we're going to turning them into ornaments and put on the tree next year.

Here's are little modern bird family!

Tuesday, December 4, 2012

Holiday Card Holder

I did some googling and pinteresting and came up with a plan to make a large card holder to hold all the awesome holiday greetings from our friends and family. I wanted to use the new silver and gold Duct tape I picked up at Target. I also had to not damage our walls with holes.  So, a plan was hatched and it took me three days to get it right. I purchased Command Mini Strips to hold the yarn on the wall. I got this idea and tutorial from My Poppet. However I could not get the command strips to adhere to my walls. We just painted and it's a bit cool outside, so these little things gave me some trouble. I ended up using tiny stick pins and hammered them into the middle of the Command Strips to the wall.  I wanted to avoid putting any holes in the wall, but after hours of being completely frustrated, we have little holes in the wall. 

we cut stripes of gold and silver duct tape and placed them on our wood clothes pins
Duct Tape is hard to cut, good luck!

Here's my first design...I later added a lot more lines, and decided to go with simple.

I used tinsel ribbon for the star on top!
Our finished project.  I love it!


Sunday, March 4, 2012

Craft Lab: the bookshelf

I searched for months to find the perfect bookshelf for my daughters room. I was determined to find one at one our local thrift stores. I finally found one at the Good Will across town and didn't see a price on it. So I asked one the employees and they said it was $12. I seriously did a happy dance right there. The book shelf was really heavy and sturdy. It wasn't solid wood like I wanted but it was in good shape.
the before
Before I painted the piece I had to repair some loose veneer.
I think we did about 3 coats to cover the piece.  I had the kids help me and we made a huge paint mess on the driveway.  I'm not sure why I didn't put down a drop cloth.   The paint mess is still there.

the after
The bookshelf is just the right size for her space.  Now all her toys and books have a nice home.  It always amazes me what a little paint can do.

Sunday, December 18, 2011

Party Time

One of my best friends celebrated a certain milestone recently. She planned her dream day, skiing in the morning, the afternoon getting pampered at the spa, a special dinner, ending it all with dancing and charades. The night will be one I'll never forgot, good times with great people. 


I spent the week before the party getting my craft on.  It was so much fun getting back into my craft supplies.  I made a fun birthday banner (which I didn't photograph) fringed over 1000 feet of crepe paper streamers like these, cut out a bunch of table confetti using paint chips, made a fun cake topper inspired by this and made a bunch of photo-booth props via Oh happy day.


I covered the tables with a great red and white stripe fabric from Ikea.  I sprinkled fabric with 2" round discs cut from paint chips.
The  party wasn't  complete until we hung the disco ball.
Votives made the table sparkle!
The cake was adorned with a homemade topper. 
We set up a photo booth.  Here's me and and my sweetie.
the girls being silly
So many laughs with an awesome group of people.  A fun night!!!!!!!!! 

Monday, September 12, 2011

My first try!


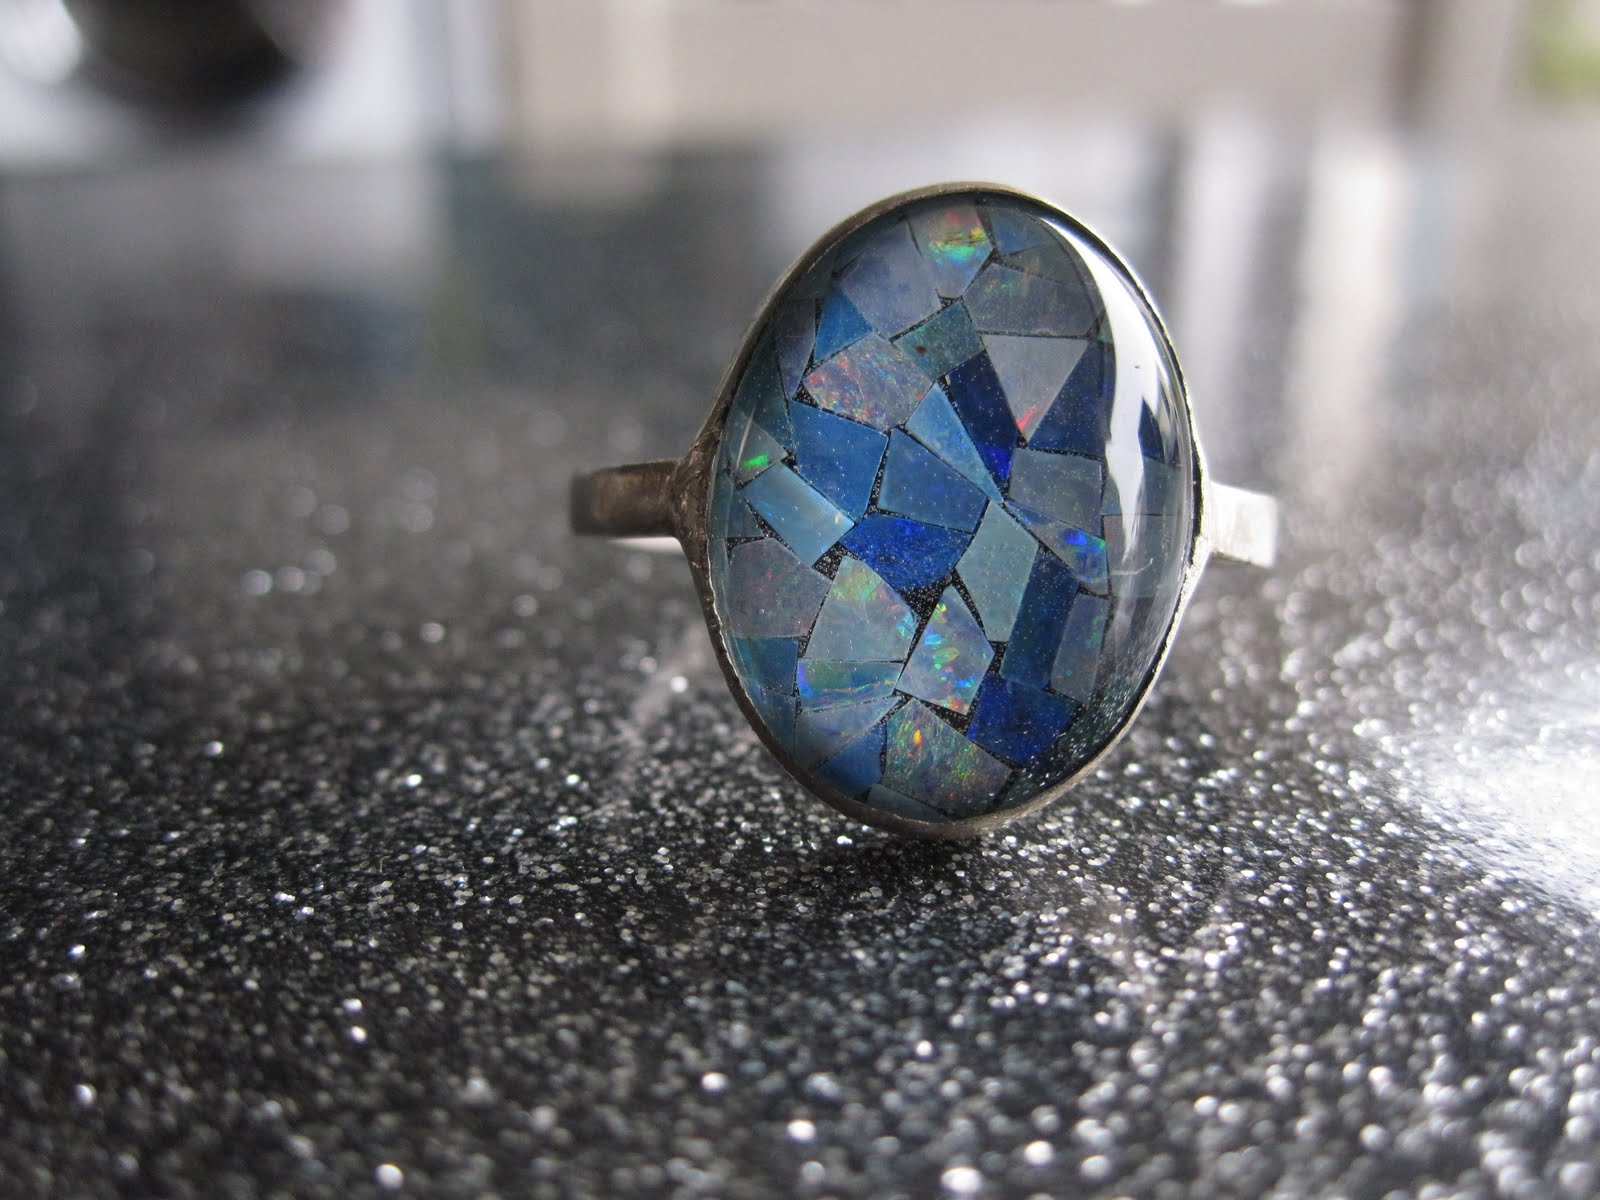
I truly believe that you can attract the things you want from life to yourself.  Kinda like The Secret.  Last year I was examining my life, and needed a little direction.  In my little Etsy shop, I've been to selling jewelry the best.  So, I decided I need to make more jewelry.  I've been making jewelry since high school and still have lots of supplies.  Plus, I have a large hoard of vintage costume jewelry.  So the idea was to make some cool new pieces using my old vintage stuff and making it into something new.  Well, life had another plan.  A dear friend gave me a very large collection of loose semi-precious stones.  Another dear friend offered to teach me a little metalsmithing.  Here, I am today showing you my first piece.  It's a simple bezel set large opal ring. Currently, I have such a long list of things I need to do before I clear off my workbench so I get back into making new pieces.   I'm excited to start a new hobby.  Maybe I'll make some money too!  

Thursday, June 2, 2011

Luv these


It's my Birthday this week and I thought about asking for one of these to hang on one our walls in the kitchen.  But then I got into my head to just make these myself.  So, now I'm on the hunt for a cool white plate.  Then we'll see what a little tape and gold spray paint can do.   To purchase these go to Cameo Nouveau.

Tuesday, May 3, 2011

Craft 52 week 16: Easy Art Update

Craft 52
week 16
Easy Art Update

Recently, I've been slowly changing things around the house.  Moving objects around and changing the flow.  I saw this post and had to check out Paper Mojo for myself.  I loved what I saw and ordered some marblized paper on Monday and got it on Thursday.  


Here's the before.  We've had  2 of these sun prints for almost 15 years, and it was time to move on.  

I got the frames at Ikea way back when. 

Here's the paper.  For 4.99, it's a great deal.  The paper is thin, like news print.

I got two colorways- here's the red, gold and green.

And the black gold and silver

The After

You can't tell in the photos, but the metallic is stunning in person.

The red, green and gold paper rocks the hall bathroom.  I love the way it ties into the Amy Butler towels and shower curtain.
Gosh, can you believe I made it all the way to week 16 in my year long craft project?  I still have so many ideas and crafty goodness to share!

Monday, March 28, 2011

Craft 52 week 12: Cutie Candle

Craft 54 week 12:
THE CUTIE CANDLE
I found this project over at Its in the Details!

Here's what you'll need:  A cutie, a knife, apple corer, some olive oil and a match or lighter.
Cutie tangerines, we eat a lot of these.  But who knew they could be used to make a candle?
Cut in half through the middle.
Take the sections out carefully.
The cutie should look like this.

The center of the cutie will be the wick...keep it intact.
 
Take the other half and cut a whole in the center.  I used an apple corer.
Here's what it should look like.


Fill cutie with olive oil, I filled mine almost to the brim.

Here's what it will look like.

Light wick, mine took a while to get started.


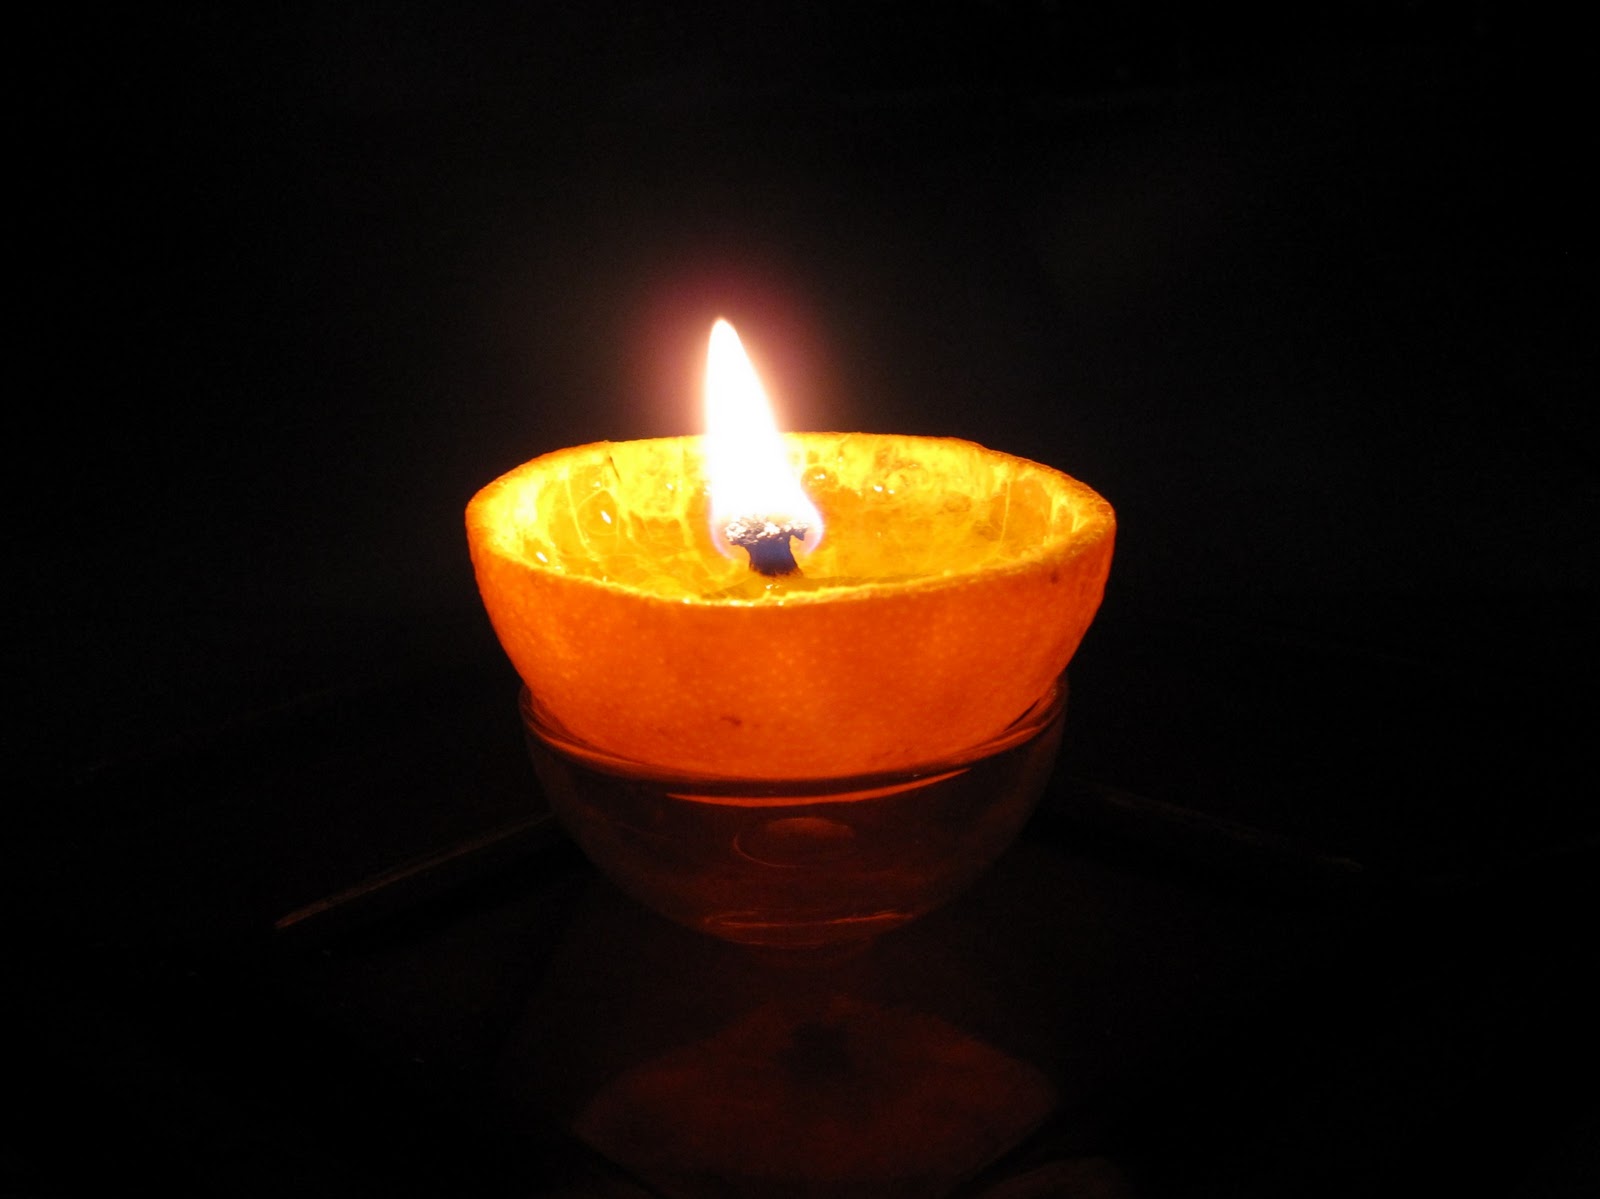
After you get the wick lit, place top on the cutie.  The edge of the whole might burn a light, please keep you eye on it.  When it does burn, it actually gives of a great scent too.

So PRETTY!

The cutie candle burned for over 4 hours.

I'm looking forward to making these for a summer party. Sprinkling these throughout the garden for a little shimmer in the yard.  


****Please be careful if you attempt this craft, it's fire and we wouldn't want to burn the house down!****